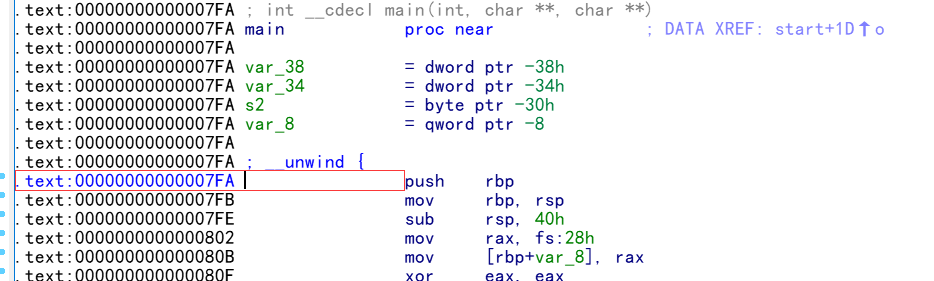
spwpun@ubuntu:~/Documents/20200102$ gdb ./pro GNU gdb (Ubuntu 8.1-0ubuntu3) 8.1.0.20180409-git Copyright (C) 2018 Free Software Foundation, Inc. License GPLv3+: GNU GPL version 3 or later <http://gnu.org/licenses/gpl.html> This is free software: you are free to change and redistribute it. There is NO WARRANTY, to the extent permitted by law. Type "show copying" and "show warranty"for details. This GDB was configured as "x86_64-linux-gnu". Type "show configuration"for configuration details. For bug reporting instructions, please see: <http://www.gnu.org/software/gdb/bugs/>. Find the GDB manual and other documentation resources online at: <http://www.gnu.org/software/gdb/documentation/>. For help, type"help". Type "apropos word" to search for commands related to "word"... Reading symbols from ./pro...(no debugging symbols found)...done. gdb-peda$ b *0x7fa Breakpoint 1 at 0x7fa gdb-peda$ r Starting program: /home/spwpun/Documents/20200102/pro Warning: Cannot insert breakpoint 1. Cannot access memory at address 0x7fa
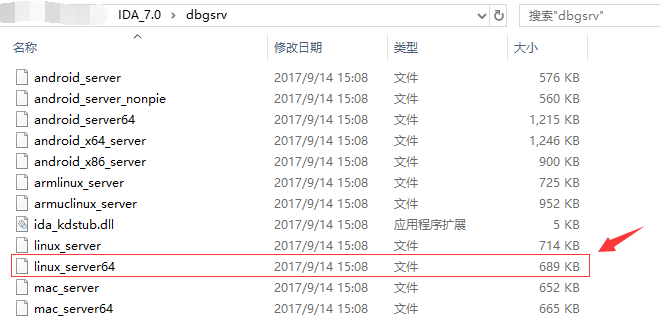
spwpun@ubuntu:~/Documents/20200102$ ./linux_server64 IDA Linux 64-bit remote debug server(ST) v1.22. Hex-Rays (c) 2004-2017 Listening on 0.0.0.0:23946...
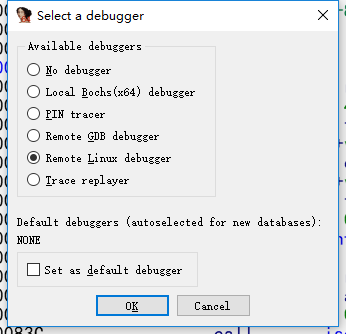
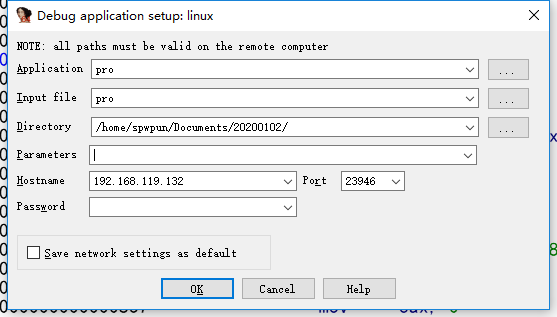
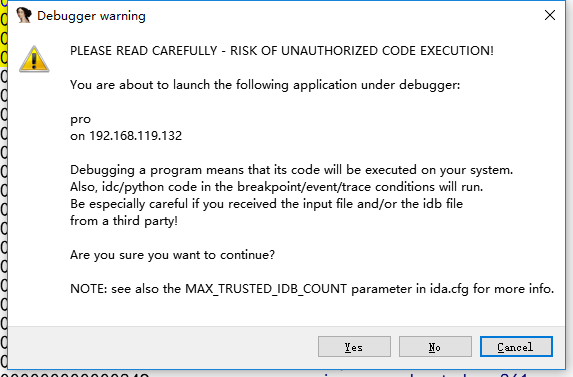
然后到IDA中设置调试器信息,Debugger>Select debugger>Remote Linux Debugger:
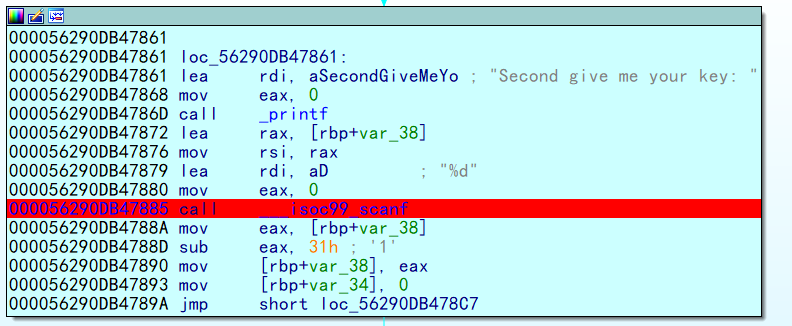
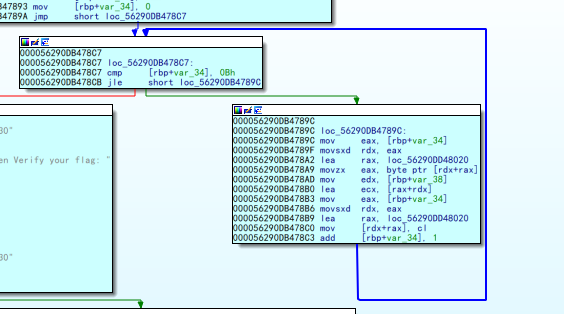
printf("Second give me your key: ", &v4); __isoc99_scanf("%d", &v4); v4 -= 49; for ( i = 0; i <= 11; ++i ) *((_BYTE *)&loc_56290DD48020 + i) += v4; ((void (__fastcall *)(char *, int *))loc_56290DD48020)(s1, &v4); printf("Then Verify your flag: ");
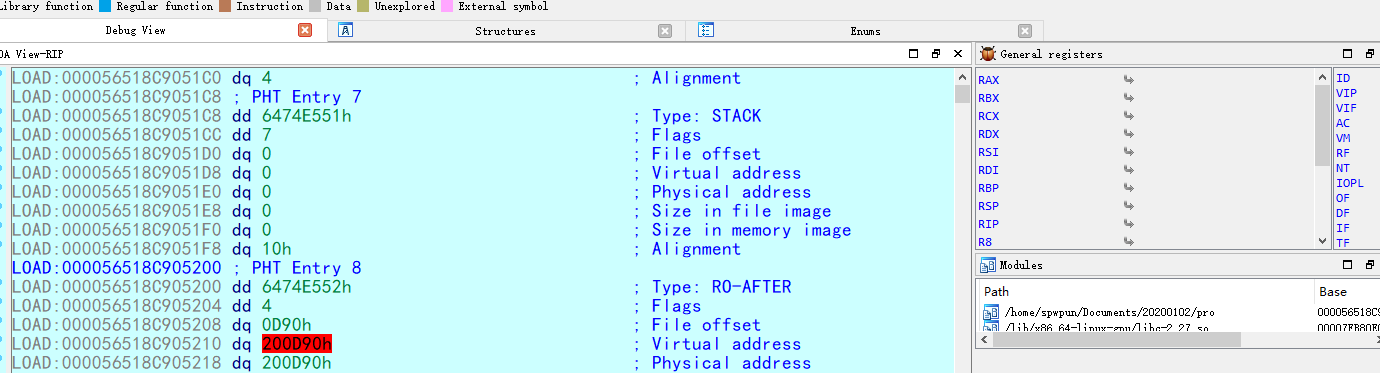
在“输入Key之后调用scanf函数”处设置断点:
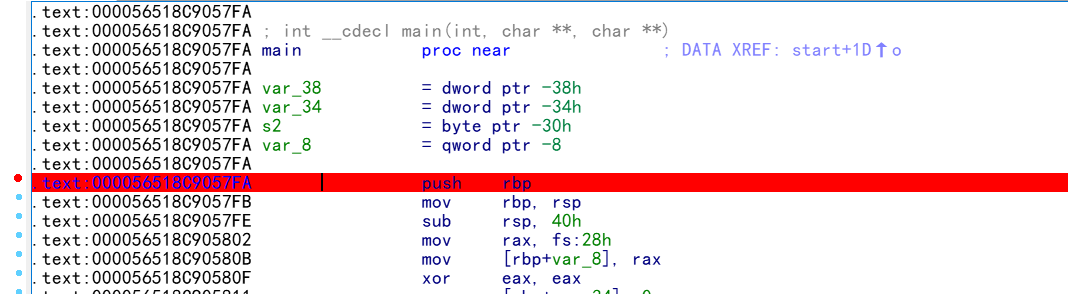
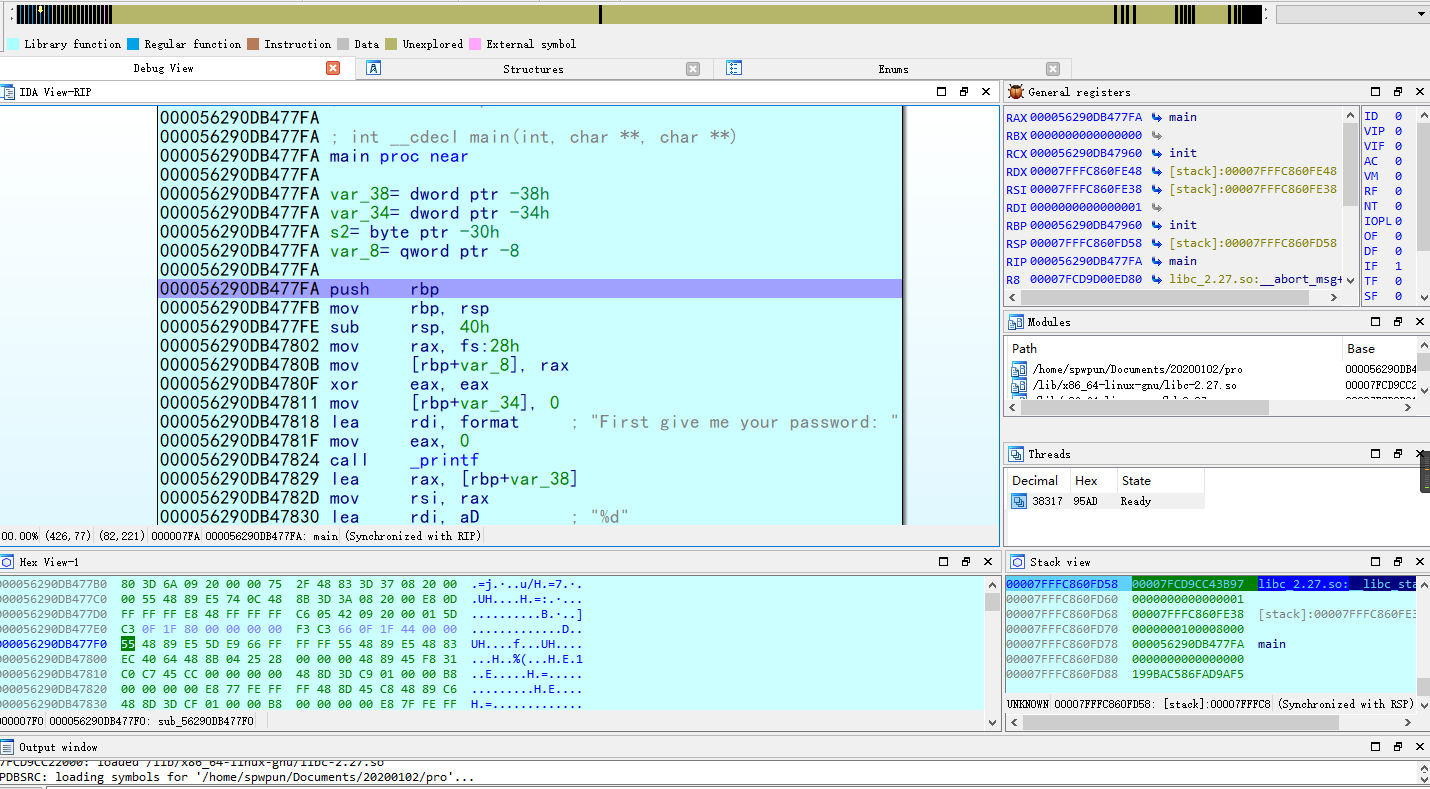
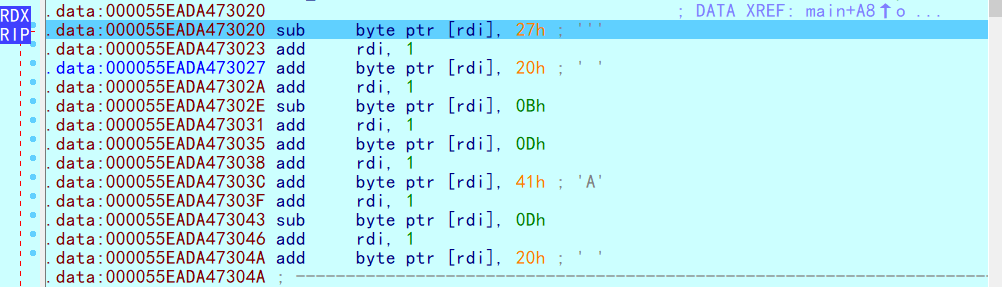
然后执行,转到Linux上输入password之后,断在了此处:
1 2 3 4 5 6 7 8 9 10 11
spwpun@ubuntu:~/Documents/20200102$ ./linux_server64 IDA Linux 64-bit remote debug server(ST) v1.22. Hex-Rays (c) 2004-2017 Listening on 0.0.0.0:23946... ========================================================= [1] Accepting connection from 192.168.119.1... First give me your password: 98416 Second give me your key: [1] Closing connection from 192.168.119.1... ========================================================= [2] Accepting connection from 192.168.119.1... First give me your password: 98416
========================================================= [2] Accepting connection from 192.168.119.1... First give me your password: 98416 Second give me your key: 78
spwpun@ubuntu:~/Documents/20200102$ sudo apt install tcl expect [sudo] password for spwpun: Reading package lists... Done Building dependency tree Reading state information... Done expect is already the newest version (5.45.4-1). tcl is already the newest version (8.6.0+9). 0 upgraded, 0 newly installed, 0 to remove and 130 not upgraded. spwpun@ubuntu:~/Documents/20200102$
我的基本思路是运行题目给出的pro程序,使用expect自动填入password和key,通过一个循环控制key的值来测试,如果接收到”Then Verify your flag: “,就说明key解码后的代码是可以正常执行的,最后输出所有的key。代码很简单,简单借鉴一下网上的一些基础脚本就可以写出来:
1 2 3 4 5 6 7 8 9 10 11 12 13 14 15
#!/usr/bin/expect # For bamboofoxctf-Move or not # filename:crack.sh set time 30 set keys "" for {set key 0} {$key<=255} {incr key} { #incr在这里是增加1 spawn ./pro #spawn是另起一个子进程 expect "*password: " {send "98416\r"} #如果收到子进程的结果为*password: ,则发送98416\r,这里可以使用正则来匹配,发送的数据最后要加一个换行符 expect "*key: " {send "$key\r"} expect "*flag: " { send "Test_flag\r" set keys "$keys$key" } } puts "All keys: $keys\r"
执行结果:
1 2 3 4 5 6 7 8 9 10 11 12 13
spwpun@ubuntu:~/Documents/20200102$ ./crack.sh
spawn ./pro
First give me your password: 98416
Second give me your key: 0
spawn ./pro
......
First give me your password: 98416
Second give me your key: 254
spawn ./pro
First give me your password: 98416
Second give me your key: 255
All keys:  39 43 48 50 114 117 206
spwpun@ubuntu:~/Documents/20200102$